

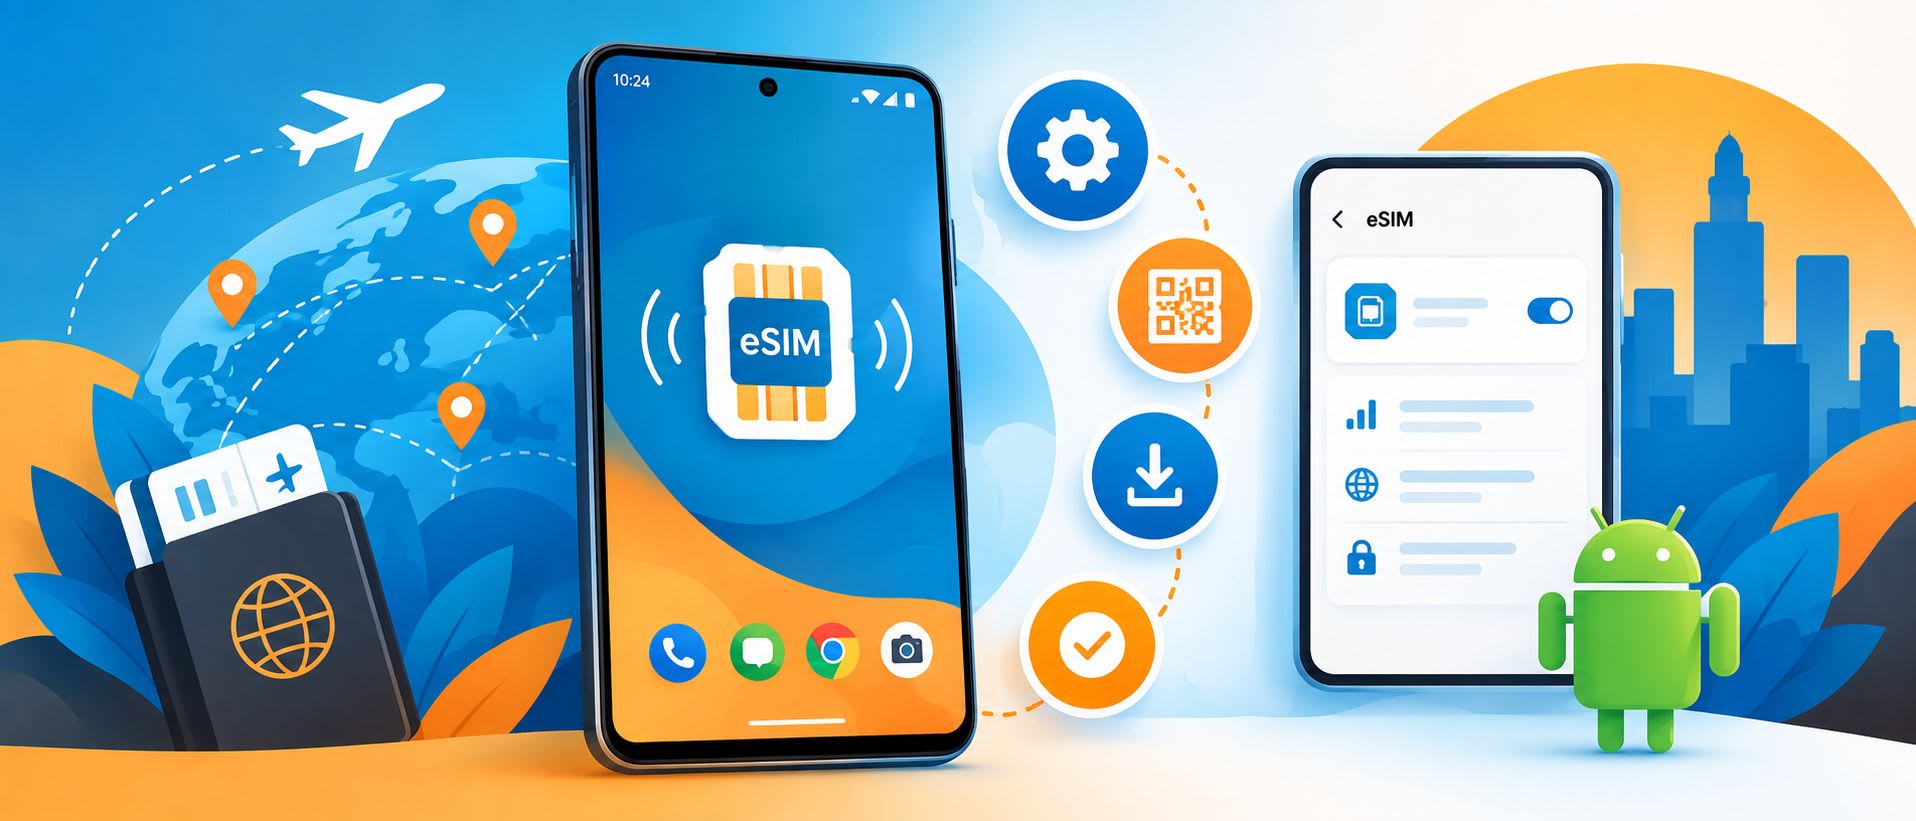
Step-By-Step Guide To Setting Up eSIM for Android Devices
Switching to an eSIM on Android can feel like a small tech upgrade that makes a big difference on the road. It cuts out the tiny plastic card, speeds up setup, and helps a traveler get connected right after landing instead of hunting for a kiosk or fumbling with SIM trays.
That matters even more for people who move between cities and countries and want mobile data ready in minutes. For many trips, travel eSIM setup is one of the easiest ways to sort out internet access before the airport coffee gets cold. A few minutes spent on setup can make the first hours of a trip much smoother.
Check If The Android phone supports eSIM
The first step is simple: make sure the Android phone supports eSIM. Many newer Android models do, but support can vary between versions, regions, and carriers. A quick look in the phone settings usually clears that up fast.
On most Android devices, the user can open Settings, tap Network & Internet or Connections, then look for SIM Manager, Mobile Network, or a similar section. If the menu shows an option like Add eSIM or Download a SIM instead, the phone is ready for digital SIM setup. This small check saves time and avoids setup trouble later.
Prepare The Phone Before Starting Setup
A smooth setup starts with a little prep. The phone should have a stable Wi Fi connection, enough battery, and the latest software update installed. Those details sound minor, yet they make the process much cleaner.
It also helps to keep the QR code, activation details, or manual setup information close at hand. Some people open the code on a laptop or a second screen so the Android camera can scan it easily. That one practical move makes the activation step much less clumsy.
Add The eSIM Through Android Settings
Once the phone is ready, the user can head back into Settings and open the SIM or mobile network section. From there, Android usually offers an option such as Add Mobile Plan, Add eSIM, or Set Up eSIM. The wording changes a little from phone to phone, though the path feels familiar across most devices.
After tapping that option, the phone will ask to scan a QR code or enter details manually. Scanning is the easiest route, since it fills in the information automatically and reduces mistakes. If manual entry is needed, Android will guide the user through each field, which keeps the process fairly straightforward.
Activate The Mobile Plan And Adjust Basic Options
After the profile downloads, the phone usually asks for a few quick choices. It may request a label for the plan, such as Personal, Work, or Travel, and it may ask which line should handle mobile data. Clear labels help later, especially on dual SIM phones.
This is also the right time to switch data roaming on if the plan instructions require it. Many travelers skip that step, then wonder why the data does not start right away. A brief check of the plan settings, mobile data selection, and network access can save a lot of needless troubleshooting in the hotel lobby.
Test Data And Fix Small Setup Issues
Once activation is complete, the phone should connect within a short time. A good first test is to turn off Wi Fi and open a map, browser, or messaging app that uses data. If pages load and apps refresh, the digital SIM is doing its job.
If the connection seems slow or does not appear, a few easy fixes usually help. The user can restart the phone, toggle airplane mode on and off, or check that the correct line is set for data. In some cases, the network needs a minute or two to register, so a little patience goes a long way.
Manage eSIM Settings During The Trip
After setup, Android makes it fairly easy to manage the plan. The user can switch between lines, rename the plan, and choose which SIM handles calls, texts, and data. That flexibility is handy for anyone keeping a home number active while using a separate plan for mobile internet abroad.
It also helps to keep an eye on data usage in the settings menu. Travel data can disappear fast with maps, video, and app updates running in the background. A quick settings check every day or two keeps usage under control and prevents surprises near the end of a trip.
Setting up an eSIM on Android is usually much easier than people expect. With travel eSIM access ready before or right after arrival, a traveler can handle maps, messages, and bookings without the usual SIM card shuffle. The process works best when the phone is checked first, the activation details are ready, and the settings are reviewed with care. A few small steps make the entire setup feel quick and practical. Once it is active, the trip feels smoother from the first tap on the screen.
Want to publish a guest post on aamax.co?
Place an order for a guest post or link insertion today.
Place an Order